Have a Question? Email me at nestyourbestblog@gmail.com I'd love to hear from you!
Showing posts with label Gifts. Show all posts

Wednesday, April 17, 2013

DIY Piggy Bank


A certain little man of mine is completely fascinated by all things money.  This is probably helped by the fact that he finds a coin everywhere we go.  Everywhere.  If I found money the way this boy does I'd have a lot more projects to show you!

When Little Man was born, he was gifted a beautiful ceramic piggy bank with the words "count your blessings".  I loved this bank.  It was so sweet.  Little loved it as well.  Loved shaking it to get the coins to fall out of the top.

As you can imagine, this method promptly led to a broken pig.

Rather than replace the glass pig with another glass pig, I opted to use what I had to give the wee one a place to store his coins.  Here was my criteria: shatterproof, easy to get into

Enter the leftover jar from my "Handful of Everything" trail mix (sidenote: that stuff is delicious! Target if you want some!).  


I peeled off the label from the jar (definitely the hardest part) and Little helped me pick out a piece of scrapbook paper he liked.  I cut it to size and wrapped it around the jar.  The adhesive leftover from the label held it on perfectly.


Next, I created a quick label on an Avery template and popped them on the jar.

Little added his coins, and our homemade piggy bank was ready!
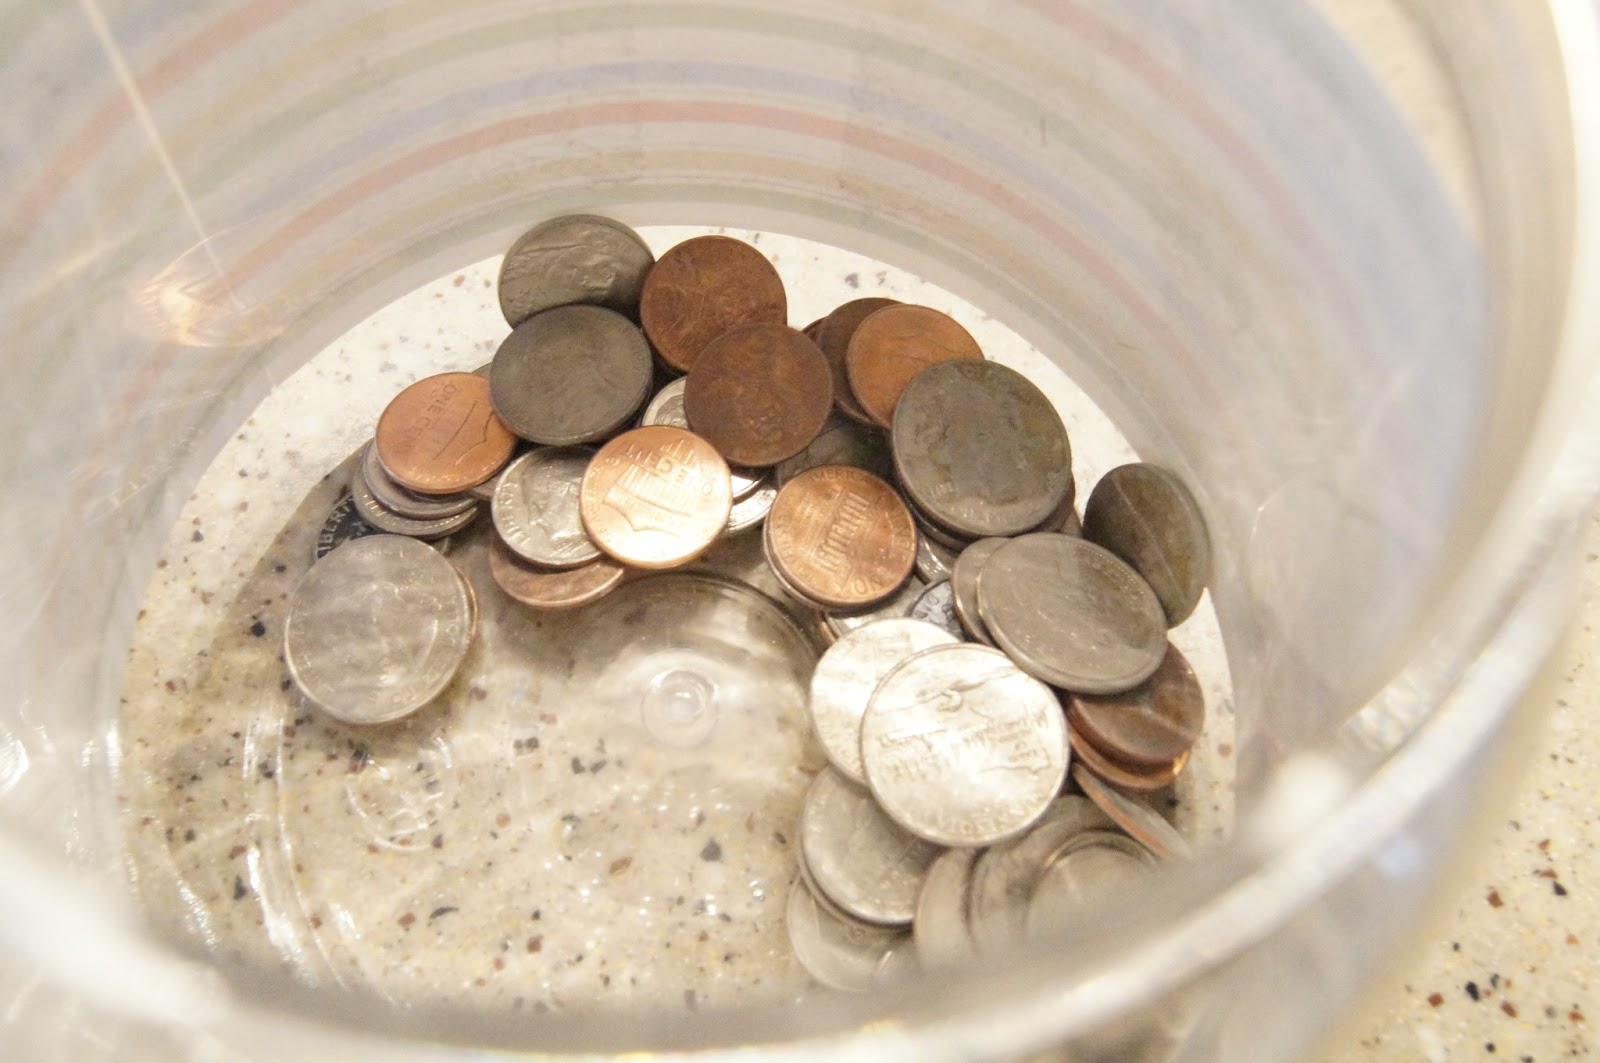

Now he can screw and unscrew the top as much as his little heart desires.


I do realize that this is not a long term solution.  The paper will start to curl up and may suffer some wear, but for a free option for a 4 year old, I'm happy.  Maybe when he's 5 he can be trusted with the glass dinosaur piggy bank he's fallen in love with...

XO,
  Sara

Wednesday, February 20, 2013

DIY - Mini Clothespin Magnets

Happy Wednesday!  Hopefully everyone's weeks are going well.  It's February break around here, which means no school, which means lots of one on one time with my favorite little guy. We've had a blast playing games, painting a bit, and trying to brave the temps for some outdoor time.  We've got a mad obstacle course running over here.

I've squeaked in a little DIY time, even without my preschool time!  It's quick, easy, and little hands can get in on the fun.

A few weeks ago, I spied these adorable little clothespins at Michaels.  I wasn't sure what I was going to do with them, but I knew I'd think of something...


When I made my clothespin pushpins, I suddenly knew what to do with this set...magnets! 

To make them, I cut strips of craft magnets I already had to fit the length and width of the clothespins.


Then, I hotglued the strips onto one side of each pin.  Be careful not to glue the magnetic side down!  You want to keep that part on top so it will adhere to your fridge.


Let the glue dry thoroughly before you stick them up, or you'll have to do it twice.  Lesson learned.

Voila!  I love the little splash of color they bring and you know I'm loving anything that gets me closer to spring!


They hold up my weekly meal plan beautifully.  BTW, have you guys ever tried emeals?  Check it out.  They have a ton of meal plans, low carb, traditional, gluten free, low fat, Paleo etc.  You select a plan, and every week they send you 7 meal ideas, recipes, and the shopping list.  We've been using the Paleo version (more on that in another post) and we LOVE it!

Anywho!  A quick little DIY that keeps me organized and brightens my day.


And who doesn't love that!

XO,
  Sara

Wednesday, February 6, 2013

V-Day Fun!

Hi-ho!  I'm popping in to share, or I guess re-share, some V-day things we've done over here in the past.  I always like to see what I did last year when planning out what to do this year.

Here's a quick look back with links to the crafts:

I started by making this cute felt heart wreath (it will be making another appearance in my mantle reveal tomorrow!).


I made a few "Milkglass" pieces to adorn my mantle too.


Little and I made these little treats for his friends.  We'll be doing this again for his class V-day party.  Delish!


I also made some vintage valentines to dress up the kitchen and mantle.  These came out again this year too!


I re-used the vintage cards and the heart wreath, but I did a few different things this year to dress up the mantle.  Tomorrow I'll show you what I came up with.  There's a new DIY that I am LOVING!  Get your printer and extra burlap handy!

XO,
  Sara


Friday, January 18, 2013

Golden Mugs


Happy Friday friends!  We've finally made it to the end of a very soggy week.  I for one, am hoping for some sunshine this weekend.

I'm here today to share the gold embellished mugs I showed you from Pinterest.

DIY Polka Dot Mugs - gold sharpie, bake at 350 for 30 min and let cool in oven

I don't know about you, but I have seen these everywhere.  Blogs, mags, Pinterest.  I knew they were right up my alley, so I collected these things and set to it:


 - ceramic white mugs (or any dish you like, but make sure its oven proof)
 - gold acrylic paint meant for painting ceramic (I got mine at Michaels)
 - painting supplies (brush, tray...)
 - oven


Now some peeps I've seen used a stamp to put on the dots, but I just freehanded them.  I kind of like the painterly quality they took on.


I didn't stop with dots though!  I've been really wanting to find a plain white mug with a single, simple red heart in the middle.  Alas, it doesn't exist.  At least not where I shop.  So...being that I had gold paint on hand, I went for a little gold heart.  And. I. Love. It.

I actually added a second coat of gold paint to each of the mugs to give them a more opaque look.

How cute is that?

I've used it a gajillion time already.  I may still need to make a red one though...

After you've painted, place the mugs on a baking sheet and in a cool oven.  Set the oven to 350 and let them bake for 30 minutes.  Allow them to cool in the oven as well.  This took several hours.


Your chai latte never looked so good!

(I have a better "after" picture to share, but my camera battery died, so I'll add it later! Check back!)

So, what are you going to paint this weekend?

Once again, friends, I'll conclude this wet and rainy week with a big,

"Rise Up!"


Go Falcons!  We had a happy house this week.  Let's see if we can do it again...

XO,
  Sara

Monday, December 31, 2012

Happy Birthday Bloggy!


Well, this little blog of mine will turn 1 on Wednesday...technically.  However, I didn't really put much into my blogging until about September, so...

I've always loved to write and have attempted many different ways to outlet this love.  This home blog stuck.  It was slow to get started, but now it is truly a part of my everyday.  I personally gain so much from reading blogs that I feel the need to pay it forward and contribute in some way.  If just one person gains inspiration from what I share, yay! :)

Since the end of a year is a time of looking back, I thought it would be fun to highlight some of my favorite (and your favorite too!) posts.

Last January I shared a cute DIY Valentine Wreath.


Then, in February, I showed you my V-day mantle and my DIY milk glass jars.


In the Spring I shared how to make a festive birthday wreath out of dollar store materials...


...and how we helped little man turn the big 3 with a Mickey party.


I made over a Goodwill lamp in April,


and shared Little's playroom over the summer.


Things really picked up in the fall when we welcomed fall,


  monogrammed a wall,


Set a Fall table,


Decked out the mantle,


painted some pumpkins (here and here),


made a mossy masterpiece,


showed you how to make and use my Home Binder (this was one of the most popular posts all year),


and baked some out of this world treats (here and here).


I shared my holiday home with you recently,


as well as some ideas for quick gifts (for any time of year!) here, here, and here.


We've also had some fun playing with different looks...


I sure like the sorority girl pose, don't I?  I have to say though, I think my Fashion Fun pics have gotten much better.  I'm learning!

This has been such a fun "year" of blogging for me.  In the past few months that I've really been giving Nest some love, I've met some great people, learned a lot about photography, and really learned a lot about who I am as a mom, wife, baker, decorator, person.  They say reflection is the best tool for personal growth...

To those of you who faithfully come read my random tidbits, I thank you.  Whether it's with sweet comments or silent cheerleading, your support has given me more than you know.  I started 2012 in kind of a rocky place, but I can confidently say that 2013 is my year!

Get ready, we're going to have a lot of fun!!  Happy New Year!

XO,

 Sara
TDC Before and After

Popular Posts