Have a Question? Email me at nestyourbestblog@gmail.com I'd love to hear from you!
Showing posts with label DIY. Show all posts

Wednesday, October 23, 2013

Color Fun in the Kitchen...for Now

Hi Ho!  Hope everyone is having a great week.  We are gearing up for Halloween and the many parties, activities, gatherings we have approaching.  Today I thought I'd take a break from fall and share a little summer project we did.

During my summer break I failed to share some DIY curtains with you.  I got really tired of staring at naked windows (gasp!) so while perusing Hobby Lobby one day, I stumbled upon a fabric I absolutely love.  It's all my fav colors in a chevron.  To.  Die.  For.

So...I made some curtains!  I use the word 'made' in the loosest fashion as I am no seamstress.  In fact, no needle was brought to this fabric.  I used heat bond and it works great. I highly recommend.  I consider myself pretty good in all thing home related, but I did not get the sewing gene from my fabulous seamstress of a mom...


I'm loving the color...


However, now that I've put this little dresser on this wall (which I love for storage purposes), they are too big.  The curtain is trying to suffocate the dresser, the dresser is letting angry words fly.  It's becoming a scene.  So, in the effort of keeping things around her G rated, I think these bad boys will be moving up to my new studio/office.


I haven't shared this room with you yet, but I can't wait.  It is everything I love.  Maybe too much so, but I don't care!  It's my fun room and these drapes will fit right in.  And hopefully not start any fights...

This is an easel...in case you weren't sure!


So there's how we lived all summer...but you know me.  Nothing stays put for too long!


These cute little stools were on clearance at Target this summer and I scooped them up for future playroom/family office use, but I'm loving them in the kitchen for right now.  Perfect for playdate lunches.

Any switcheroos at your house lately?

XO,
  Sara

Monday, October 21, 2013

Halloween Crafties!

Hello Friends!

 The haunted holiday is fast approaching and Little and I have been crafting it up to decorate for the occasion.  Michaels is kicking it with some amazing craft kits this season.  They include everything you need to make a cute craft and they're super affordable.  Win win!!

We started with these super cute bat and spider friends.


We had a big debate over whether or not the bat was really an owl.


Little thinks it is definitely an owl, although the packaging clearly states 'bat'.  He is convinced they made a mistake.  I'll let you decide for yourself!


 After a little gluing, we had some fun little friends to decorate our counter top!


Have you done any crafting this season?  We have some fun Thanksgiving crafts on deck for next month.  Thank you Michaels for understanding life with an artsy four-year old!!

XO,
 Sara

Thursday, October 17, 2013

Fall Decor on a Budget - Restyle, Rework, Reinvent

Look at me with some regular posts!  You know I love fall and I just couldn't pass up the opportunity to share how we've brought the season inside.  Today's post is brought to you by the letter "R".  Three "R's" to be exact.  Restyle, Rework, Reinvent.

Last year I went with a rustic glam look with gold and silver pumpkins and pine cones.  You can check that out here.


I followed the same color pallet this year, but reworked some of my vignettes to keep it fresh.  I'm a firm believer in using what you have and making it feel fresh.  Mister had some extensive work done to his car recently so new decor just wasn't in the budget.  Does that mean we sit around and let everyone else have all the fun?  No way!  Restyle, rework, reinvent!

My favorite way to start any new decorating project is to take everything I have to work with and put it all on one table.  Then, I "shop" from there.  It's pretty fun and I always come up with a new way to use things I already had.

Here's a look at our fall entry...


It really just makes me smile every time I pass by.  And isn't that what decorating is all about?

Our dining room is very visible when you enter our home so it also got a little pumpkiny glam.  I just love the way the tray corrals the big pumpkins.


Little collected all the pine cones.  He was very excited to help!


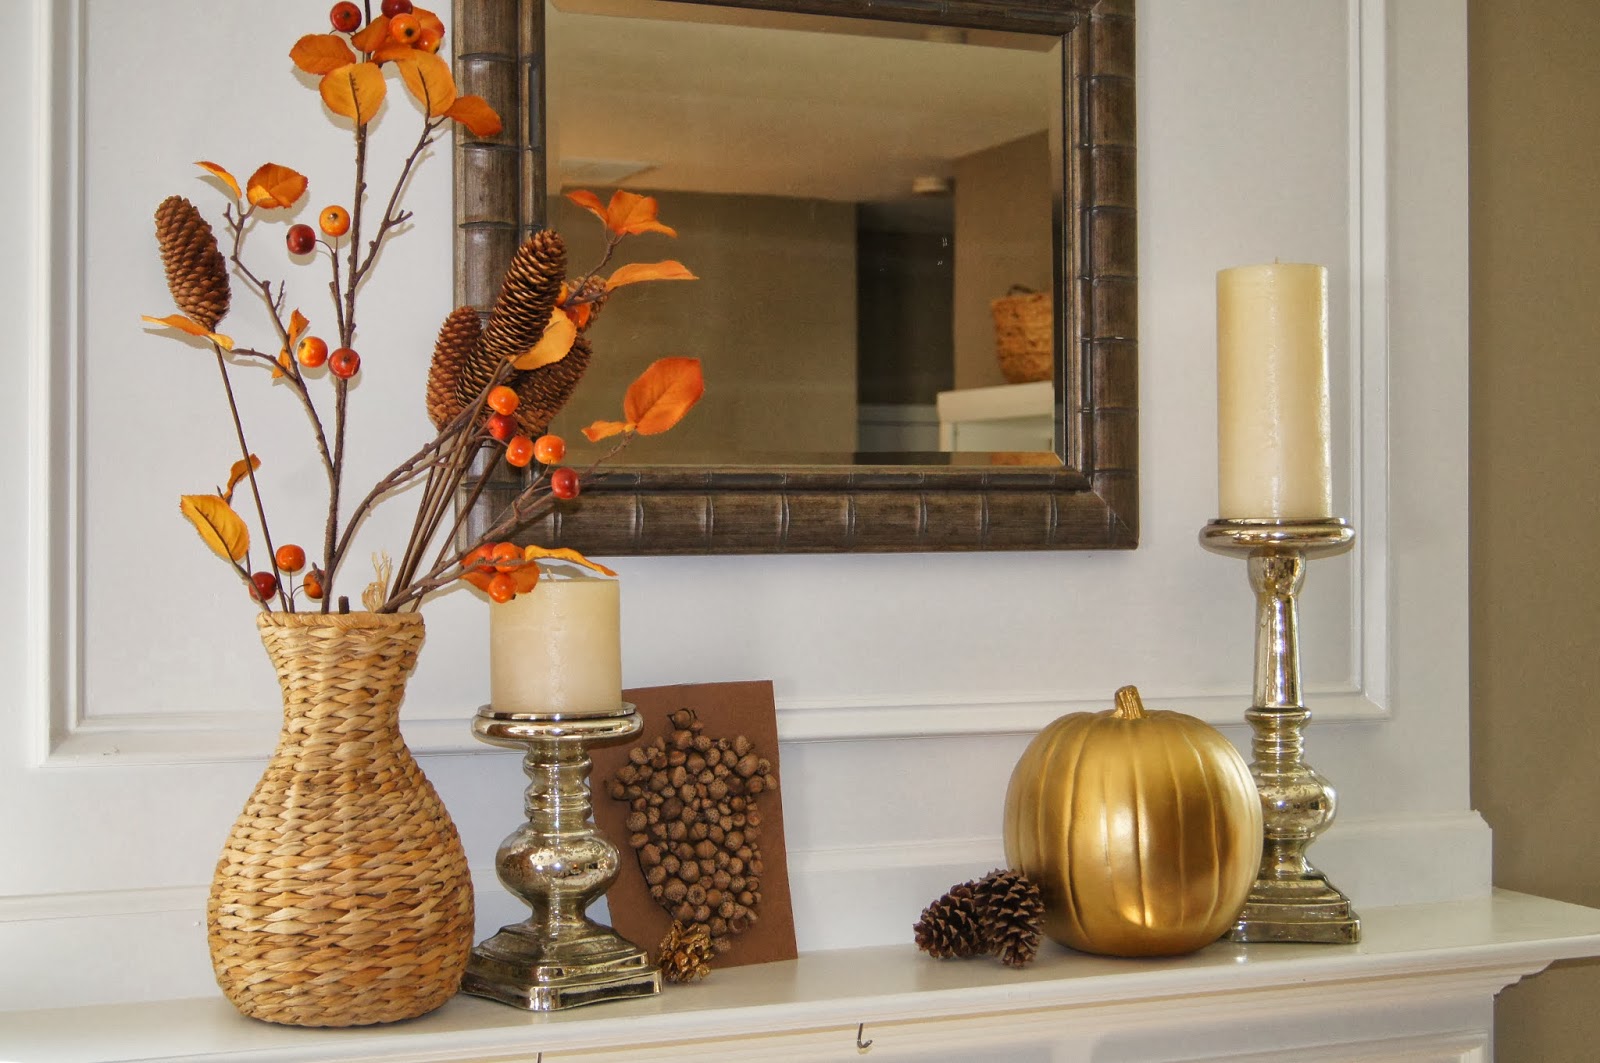
The mantle is full of color and texture.  I love the mix of bright foliage, rough nature textures, and pretty mercury glass.


The acorn art was a special project with Little.  I'll post more about that later...


So there you have it.  Not a dime spent, but a whole new look from last year.

Are you restyling this year or making a few stops around town for new decor?

XO,
  Sara

Wednesday, April 17, 2013

DIY Piggy Bank


A certain little man of mine is completely fascinated by all things money.  This is probably helped by the fact that he finds a coin everywhere we go.  Everywhere.  If I found money the way this boy does I'd have a lot more projects to show you!

When Little Man was born, he was gifted a beautiful ceramic piggy bank with the words "count your blessings".  I loved this bank.  It was so sweet.  Little loved it as well.  Loved shaking it to get the coins to fall out of the top.

As you can imagine, this method promptly led to a broken pig.

Rather than replace the glass pig with another glass pig, I opted to use what I had to give the wee one a place to store his coins.  Here was my criteria: shatterproof, easy to get into

Enter the leftover jar from my "Handful of Everything" trail mix (sidenote: that stuff is delicious! Target if you want some!).  


I peeled off the label from the jar (definitely the hardest part) and Little helped me pick out a piece of scrapbook paper he liked.  I cut it to size and wrapped it around the jar.  The adhesive leftover from the label held it on perfectly.


Next, I created a quick label on an Avery template and popped them on the jar.

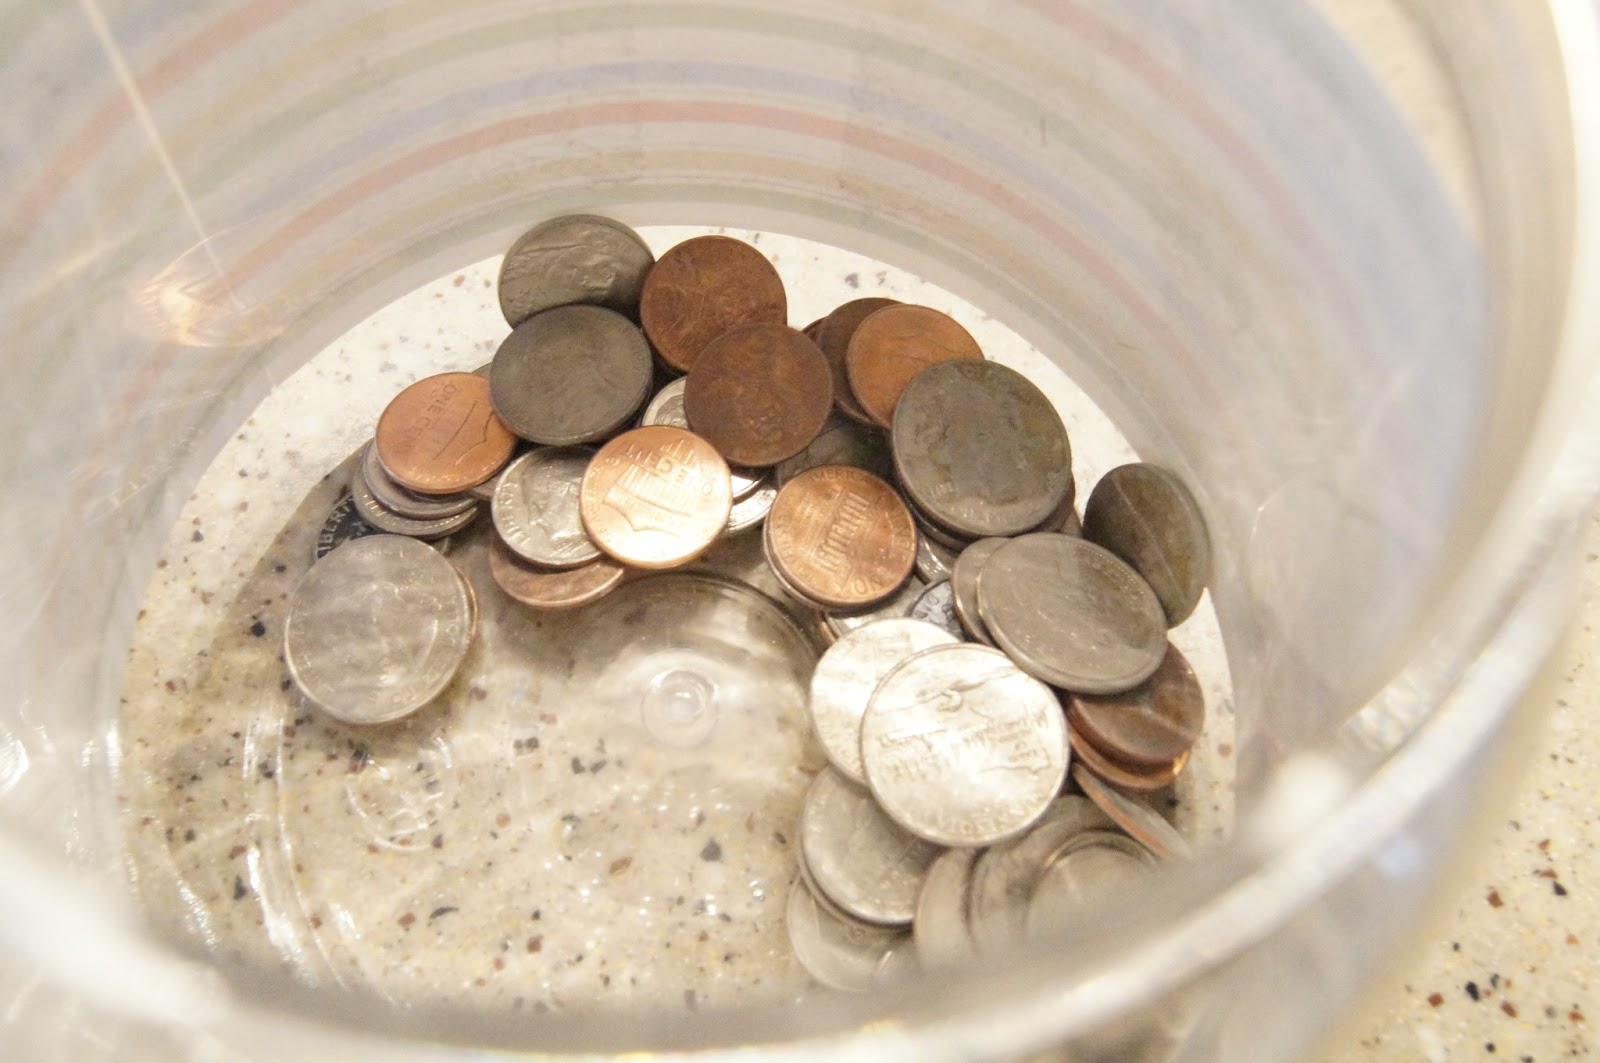
Little added his coins, and our homemade piggy bank was ready!


Now he can screw and unscrew the top as much as his little heart desires.


I do realize that this is not a long term solution.  The paper will start to curl up and may suffer some wear, but for a free option for a 4 year old, I'm happy.  Maybe when he's 5 he can be trusted with the glass dinosaur piggy bank he's fallen in love with...

XO,
  Sara

Wednesday, March 20, 2013

Dino Party - The Mantle

I promise this is the last post on the Dinosaur Birthday Party.  There were a lot of parts!  It would have shut my blog down if I'd put it all in one post...hope you don't mind! :)

I told you yesterday I love to set the table first for any party or holiday event.  Second, the mantle.  These are just the natural places I go to add a touch of whatever festivity we have happening.


I used a Target garland to start and then shopped my house for the rest.

The wicker vase is from Big Lots and I filled it with curls of the same wrapping paper I used to run the dining table (you can see that post yesterday).

The dino is a DIY attempt out of poster board and markers.  I think he turned out okay!

I had the graphic already and I think it was from Pinterest.  


My Mister's aunt gave us the cute dino cookie cutters.  After I baked all the cookies, I used the cutters to spice up the mantle.  I love the extra texture they add.


The two yellow candle holders are from Kirland's and I made the chalk quote bubble out of poster board and chalk spray paint.


It was a fun and spirited way to great our guests and pay special tribute to my favorite little dinosaur!

Do you see the blue painter's tape holding up the bubble?  We had some difficulty!
I hope you've enjoyed the dino series.  I am officially dinosaured out.  It was a blast and it sure made Little happy and that's the whole point!

XO,
  Sara

Friday, March 15, 2013

Dino Party - Volcano Cupcake

The last few days I've been sharing the details of my son's dino party.  If you've missed any of those posts, check out the cookie favors here and the party menu here.

Today, I'll be showing you what I came up with in a moment of desperation for the cupcakes.  You know you can't have a child's birthday party without cupcakes!


My first thought was just to make regular cupcakes and pop a little plastic dino on top, but I knew I could do better.  Hmmm...  It was actual Little who gave me the idea.  "Volcanos Mommy!"  Why son, I think you're on to something.

I found a recipe for lava cakes filled with melty chocolate, however, this is not what I needed with a bunch fo preschoolers!  I just made chocolate cake and bakes it in a mini bundt pan.  The little bundt cakes resembled volcanos enough...


The tricky part was getting the lava.  The lava cake recipe provided a recipe for a glaze, which I tinted with orange food coloring.  However, when I tried it out, it was not nearly opaque enough to look like anything.  This mistake worked out though, because the glaze sunk into the cake and made them extra moist and flavorful.

* Disclaimer: I absolutely HATE the word "moist", however, since it is in written form here, I'm writing it and moving on.

I wound up adding some powdered sugar, a bit of corn syrup and a little more orange coloring.  The result, a volcano cupcake fit for an almost 4 year-old.


I stuck the dinosaur toppers from the Meri Meri dino cupcake kit on top and we were in business.  The kids loved them and the parents thought they were delicious!


We made a little family version too!


I'll try and tell you my icing recipe below.  You may have to play with it a bit.  (I doubled this)

Melt 2 tablespoons of butter, 1/4 cup of sugar and 1/8 cup of milk in a sauce pan.  Let it come to a boil and then remove from heat and stir in 1 cup of white chocolate chips till melted.  Pour over cakes.

This is the part that sank into the cake, but it worked out and made them delicious!  Save some icing back and then do this...

Add in about 1 cup of powdered sugar and 1 Tablespoon of corn syrup.  I also added orange food coloring.  Stir together and drizzle over cakes.  Sprinkle red sprinkles on top.

I hope this works out for you if you try it.  Remember, I was in desperation mode!  If it's too thin, add more powdered sugar.  You can't really mess it up.  It will taste delicious!

Have a great weekend friends!  Next week I have a few more party things to share, as well as my Easter mantle and tablescape.  It will be here before you know it!

XO,
  Sara


Thursday, March 14, 2013

Dino Party - The Eats

What's a party without food?  If you've been reading the blog, you know we recently had a Dino Party for my son's 4th birthday.  Yesterday, I shared the cookie favors we put together.  Today, I'm showing you what we ate.

When I started planning this party, of course, I went to Pinterest first.  There was lots of dino stuff, but it all referred back to Etsy sites where you could buy dino cookies, juice box wrappers, banners, etc.  I have nothing against Etsy, I just wanted to make it myself to save a little green!

I made these little labels to hang above the food stations in my kitchen. I just used the Drawing Board feature in Word to create these labels.

At the "Carnivores" station we had dinosaur shaped chicken nuggets for the kiddos and a hot cider salad with bacon and mini honey cornbread muffins for the mamas.

Unfortunately, I didn't get pictures of all the food because at that point, we were in full party mode!


The "Herbivores" station had broccoli and carrots with ranch, strawberries and grapes, and popcorn.


"Sweetivores", my favorite station, had cupcakes (check back tomorrow to hear more about the cupcakes) and cookies.


With all the yummy food, we needed something to wash it down.  That leads to the "Prehistoric Punch" station.


To cover the juice boxes I used yellow scrapbook paper and red and white chevron wrapping paper from the Target $1 section.  I scoop up those rolls whenever there are new ones!

I think part of what makes a memorable party are the little details.  If you've committed to a theme, try to keep it running throughout the party...of course, you don't want to go overboard, but a few little touches can easily take some Target party plates and chicken nuggets from drab to fab.


Wednesday, March 13, 2013

Dino Party - Cookie Favors

We had the big Dinosaur Blow-out last weekend and it was a huge success!  I was a little crazy to schedule two parties in one day, just two days after getting back from vacation, but a couple of sleepless nights and we were in business!

I love a themed party and when Little suggested Dinos, I jumped right in.  It was meant to be when Mister's aunt gave us some dino cookie cutters.  I knew what the favors would be!

I spent one day making the sugar cookies and glazing them with royal icing.  I would suggest looking on Pinterest for a good royal icing recipe.  It's the stuff that dries hard enough to stack and decorate, but still delicious.

The next day was decorating and packaging day.  I found some great food colors from Wilton to use.  We went with turquoise, red, and orange.


I used a food writer to add the "J" and "4" accents.  Have you tried them yet?  They are really amazing.  You just have to make sure your base icing is really set or it will crack.


I made some cute little tags in Word and spring green ribbon from Michaels to tie them up in cellophane bags.


One cookie in each bag, hole punch through the bag and tag, thread ribbon through and tie.  Easy-peasy!


I found this great long, rectangular lidded basket for $1 at Goodwill a few weeks ago.  I just crumpled some red tissue paper to fill the bottom and stacked the cookies in the basket.


A couple of plastic dino accents,  and our favor table was ready to go!


I think it made a cute little party vignette and provided a delicious treat to our adorable little guests!


Popular Posts